
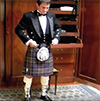
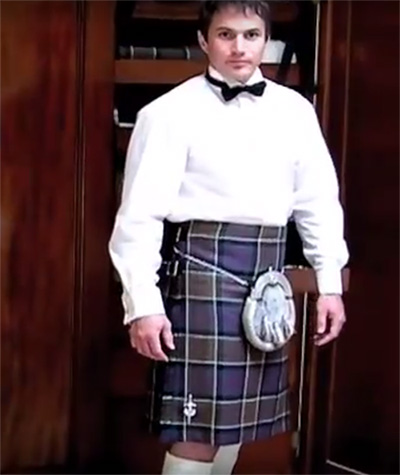
 Let’s find out how to put on the full formal Prince Charlie outfit. Dr. Nick Fiddes, the governor of the Scottish Tartans Authority, will kindly share a few personal tips and tricks with you. He will show you the order of choosing and wearing the garments, which he finds works best. You can really feel like a manly man in a properly worn highland outfit.
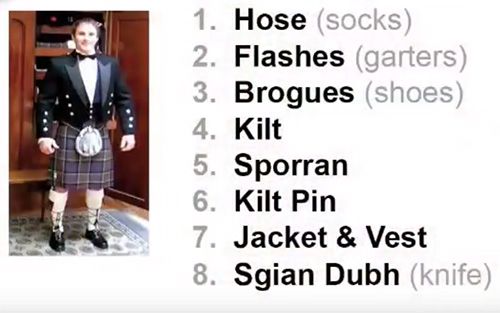
Here are the pieces of clothing required:
First of all, let's get your socks on, or, as we call them with a kilt, your hose. I find it most convenient to get my footwear on before my kilt. So, pull on your hose. We'll adjust them after we've put on the flashes next.
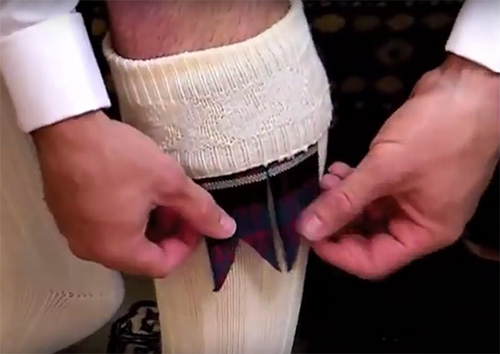
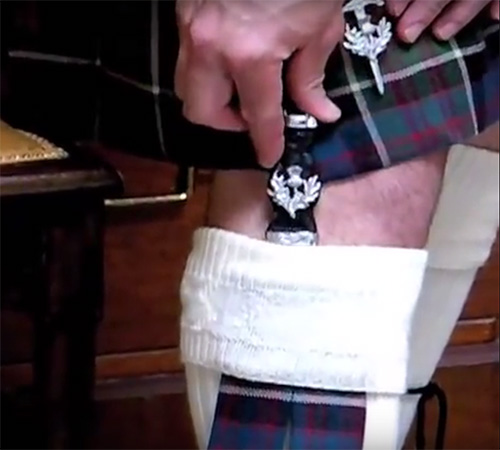
Fitting the flashes now means that your hose will be sitting just perfectly when you're lacing up your brogues. And here's a tip, by the way, keep tartan flashes with the kilt they match. As well as adding an attractive dash of color, flashes are basically a form of garter, so if yours arrive separately, just thread the garters through the loops, two to each side and the sewn edges inward. Now, clip each garter around your calf, a few inches from the top of the hose. You'll be folding the sock top over, leaving about half the flashes showing. You can wear them facing to the front, as I prefer to, or on the outside. Either is fine. Then just smooth it all down with the flashes pointing downwards.
So, now you're ready to put on your ghillie brogues. Lacing up ghillie brogues is much simpler than it may first look; in fact, there are several ways to tie ghillies, so I'm going to show you three of the most popular. First, the one I normally recommend: the high front tie. Firstly, pull your shoelaces tight to check they're the same length. Insert half a knot for tension, then immediately twist laces, one, two, three times. Then pull them tight. Now take them behind, just above the ankle bone and back to the front to cross in the middle. Moving up the calf, cross behind again and up to the front, and, here, some people will put in a bow, but I think all you need is a simple reef, or granny, knot to fasten it off, and, finally, make any last minute adjustments, just to make sure that the knots and the crosses are nice and central and the laces are hanging straight downwards, and then you're done.
The side-tie is very similar, but knotted on the outside of the calf. The first few stages here are the same. It's only when you come to tie the final knot that you'll do it at the side, rather than the front, and, this time, you probably will want to tie a shoelace bow, so that you can ensure the tassels hang to the same length. Again, a few final adjustments to ensure everything is neat and straight, and we're done.

And last but not least, I'm going to show you the low-tie, and this one, again, starts exactly the same: draw up your shoes and twist the laces three times, but this time cross the laces behind, just above the ankle bone, then bring them round to the front again, and then just a fraction higher, again, round to the back and back to the front. And here, I would recommend a standard shoelace bow, making sure the tassels are hanging straight downwards evenly, and, if you like to double-knot your bows, that's absolutely fine. So that's the low-tie. Now you have three choices of how to tie your ghillie brogues.
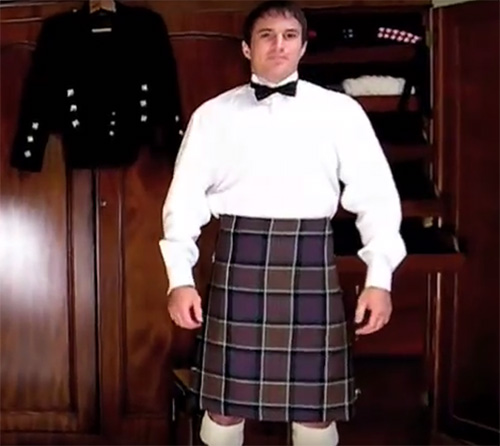
That's the tricky bit done, now on to the main event, your kilt. First, just give it a wee shake to release any creases. Now, open the kilt fully behind you with the lining towards you. Then, take the strap in your right hand over to your left hip where you'll find a small slit in the lining for the strap to go through. Now, pull this strap through from the outside and fasten it to the buckle you'll find there. Select a hole on the strap that is tight enough to take the whole weight of the kilt on your body, but still loose enough for you to breathe comfortably. Check you can easily get a couple of thumbs inside the waistband, and make sure the length is as you've measured. It should hang no lower than about mid-knee.
Now we'll do the straps on your right hand hip. You'll want to do the top strap first, as this, again, is taking some of the weight of the kilt on your body, so loose enough to be comfortable, but tight enough to be secure. Wait, before the bottom strap, which is mostly decorative, give yourself a final adjustment, just to make sure everything is sitting comfortably, and now you can do the bottom strap. Tighten it just enough that the apron is falling nice and straight, neither too loose nor too tight.
Then, take a good final look over how it's all sitting. Check that the apron is lying flat, and you've got a good A-shape to it. If you need to, you can rotate the kilt a little, to ensure the set of the tartan's lines are central and symmetrical as your kilt-maker intended. And, there you have it, a perfectly hanging kilt to be proud of.
So, it's on to the finishing touches, starting with the sporran. As we're wearing formal dress today, with a Prince Charlie jacket and vest, we'll choose an impressive full-dress sporran. If your chain strap isn't already attached to the sporran, just clip it through these little hoops in the back. Now, there are a couple of ways of putting a sporran on, and I'm mostly going to show you the easy way. Stretch the chain strap behind, so that the sporran sits over your abdomen. Then swivel the whole thing around to bring the buckle to the front. That makes it much easier to do up. And, remember to tuck the end of the strap into the little leather loop. Then you just bring your sporran back round to the front and, hey, presto, it should be perfectly positioned. And here's a wee tip: hooking the chain strap over the buckle can be a wee bit more comfortable.
And, finally, here's probably the proper way, but I'm not really sure it matters, there should be a couple of fabric belt loops on the back of the kilt that you can put the ends of the chain straps through before fastening. With an expert kilt-maker, these fabric loops may, in fact, be quite hard at first to spot. They'll be so well camouflaged against the tartan set beneath. This probably keeps the sporran in place slightly better, but it's easiest if you're either very dexterous or perhaps have somebody to help you. So, either way, now you have your sporran on, and we're nearly there.
Your favorite kilt pin is the next touch. Kilt pins are available in a huge variety of styles, including clan crest, emblem, and contemporary designs. You should pin your kilt pin through the front apron only to prevent stresses and tears. Pin it, perhaps, four inches up from the bottom hem, and about two inches in from the side, and don't forget to turn the little retainer clip after you've pinned it in position. As well as being decorative, the kilt pin's weight helps prevent the kilt apron from flapping and will help preserve your modesty when you sit down.
The last main piece of this formal evening outfit is the Prince Charlie jacket and matching waistcoat, or vest. I'm sure you can manage this part without needing help from me, but remember there should be a strap on the back of the vest to adjust if it's a little too loose or too tight. There, now just pull it down in front and back, to make sure it's sitting perfectly, and add the jacket. This formal eveningwear Prince Charlie jacket, by the way, is always worn with a matching vest. When you wear a less formal outfit, such as that based on the argyle jacket, for example, then the waistcoat would be optional and purely a matter of taste, but when buying a Prince Charlie, get the vest as a pair, to ensure the barathea will match perfectly. So, one final wee check, and we're almost ready.
But, wait, there's one final finishing touch. Don't forget your sgian dubh. This little knife goes in your right sock, if you're right-handed. So, push it down just enough to leave the handle showing.
And then we're done, dressed to impress in a perfectly fitting Prince Charlie Highland dress outfit. Have a great night.
(c)