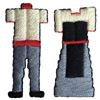
 These are plenty of different tutorials that show how to wear a Japanese kimono – and, by the way, there are plenty of variations of kimono in Japan. But still, we decided to publish another tutorial to help you put on the kimono and soft datejime sash properly and easily. The Japanese culture is very strict and precise – everything from food to clothing to hairdos to interior design, etc. should be done extremely accurately and meticulously. So, always pay great attention to your kimono when you put it on.
The traditional Japanese kimono is worn over a nagajuban – undergarment, kimono-shaped robe.
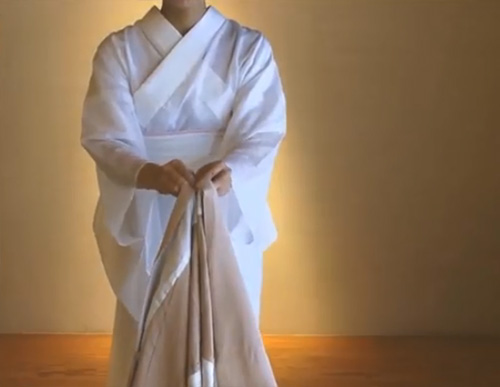
The collar of kimono should be folded inside in half.
Drape kimono over yourself from your back. Be careful not to squash its collar.
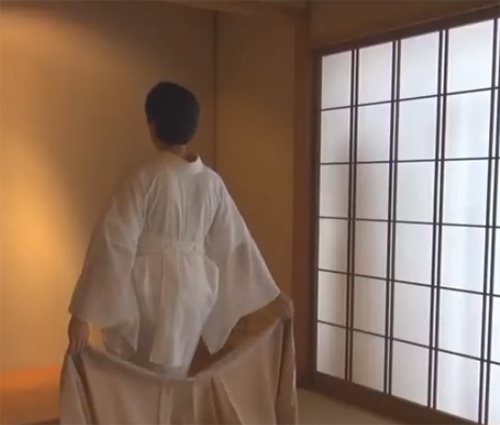
Hold the end sleeves of nagajuban and slip your arms through the sleeves of kimono. Adjust the sleeves of kimono to those of nagajuban.
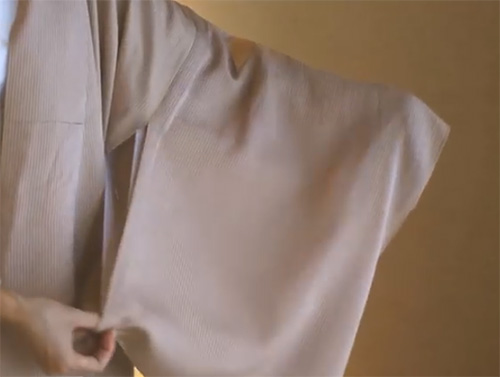
Hold the top of the sleeves and pull on both left and right sleeves to be symmetrical.
Hold the ends of kimono sleeves and lift them up.
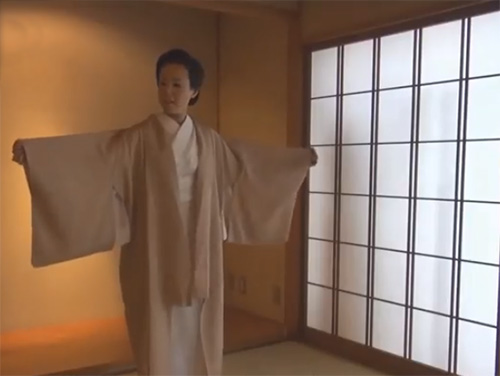
Bring the hemline to just above the floor.
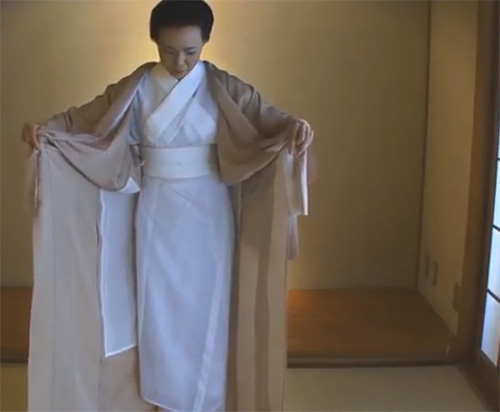
In order to decide the width of the left side portion of kimono, drape it over to the right side of your body.
Open the left side. And bring the right side of kimono to the left side of your hip bone (this will be the inner layer).
Pull the left side hem up for 10-15 cm.
Then, fold the left side of kimono to overlap on the top and meet the right side of your hip bone. You do this as if you sweep the floor.
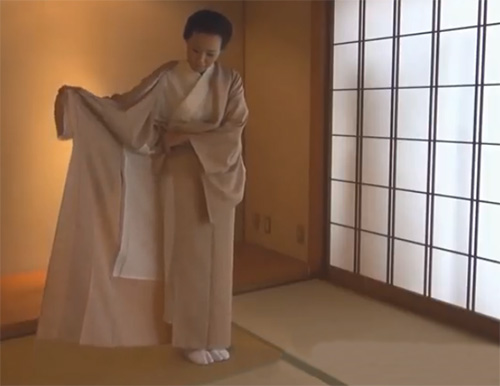
Pull the right side hem up a little.
Hold the fabric of kimono firmly with one hand and take the waist cord in the other hand.
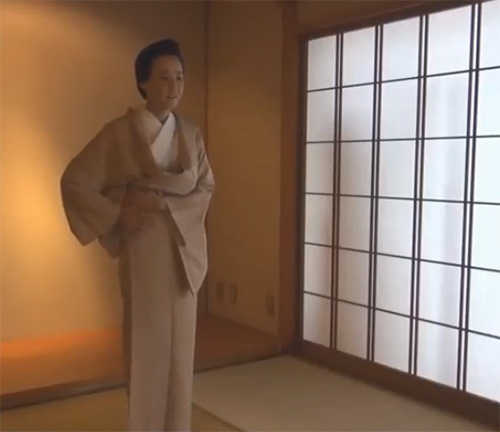
Place the waist cord and wrap it around your body. Cross the waist cord on your back and tie it at your left side. The ends of the waist cord should be tucked in and hidden.
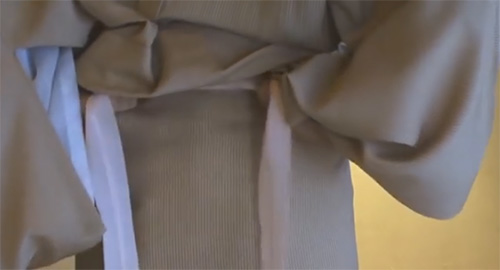
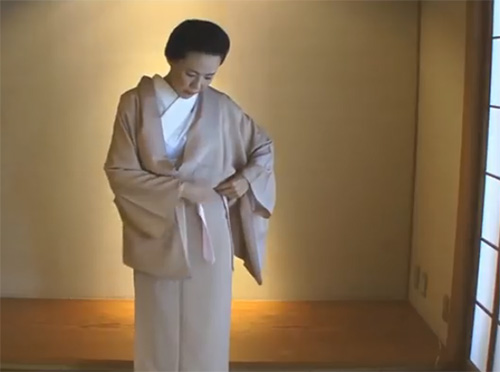
Keep the position of waist cord as it is. Slip your hand into the empty space under the arms and smooth out the slack.
In the front, nagajuban has to be seen for the first joint worth length from underneath kimono. In the back, be sure the collar of kimono goes up around 1 cm higher than its nagajuban.
The crossing points of nagajuban and kimono should be below your ears.
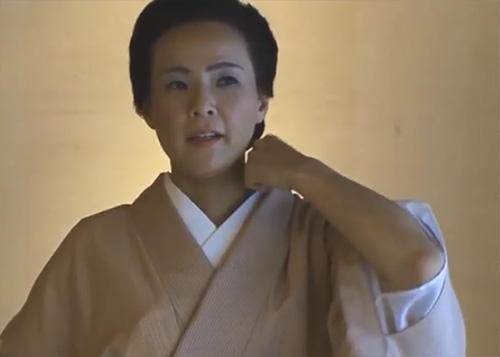
After adjusting the collar position, fix the position with the clip of gum belt. Smooth out the wrinkles above the gum belt.
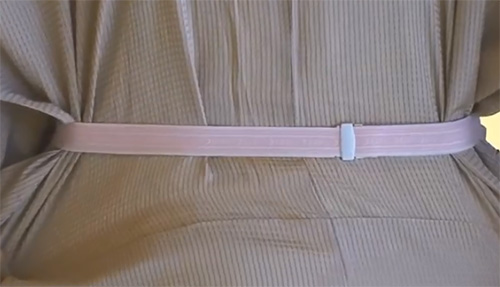
Make sure that center fold line on your back is placed on the center of your back. Smooth out the wrinkles.
Take a soft sash called “datejime”. Place it in the front and cross it on the back. Then, tie the datejime in the front and tuck the ends.
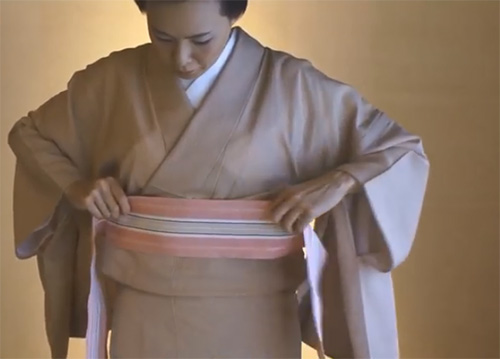
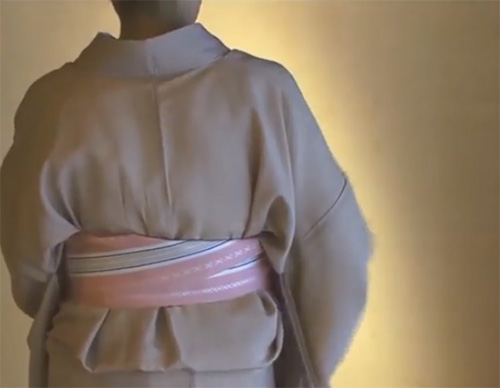
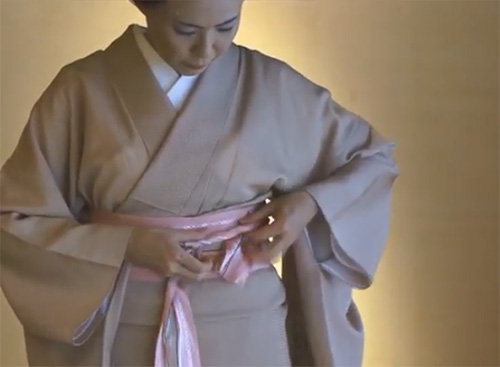
Again, smooth out the wrinkles.

And you’re ready to go.
(c)
