
 One of the authentic folk crafts of the Native American Indians is a fingerweaving. They wove narrow strips of fabric – belts, bag straps, sashes, and other items. This handicraft is very convenient because doesn’t require any special tools – like looms are used for ordinary weaving. For fingerweaving, you need only wooden sticks and yarn. Surely, modern weavers use some auxiliary tools (dowel rods, binder clips, rubber bands, etc.), but their ancestors could do without such things. Let us show you how to fingerweave + we offer you 5 various traditional Indian patterns to start with.
Materials and tools
The first thing you’ll need to begin fingerweaving is materials. The items below are easily acquired, and relatively inexpensive. Some of these items are not used by all weavers (as they’re not traditional tools) but are a personal preference only.
Yarn. Not all yarns are created equal, and you will find that some yarns will perform better than others in the weaving process. The most popular yarn for beginners (and their budget) is typical acrylic craft yarn. Once you can afford it, you can delve into the more expensive natural fiber yarns, such as wool and cotton.
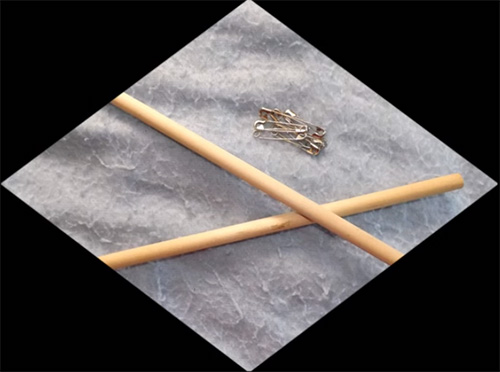
Dowel rods. Dowel rods are important for starting your piece and also help in securing your work.
Safety pins. Safety pins, though optional, are helpful in securing your work so it doesn’t unravel.
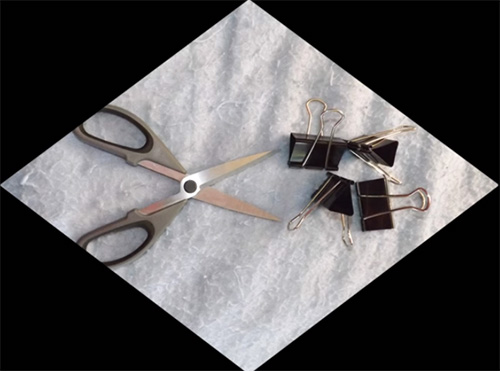
Craft scissors. This tool is needed to cut and trim your yarn.
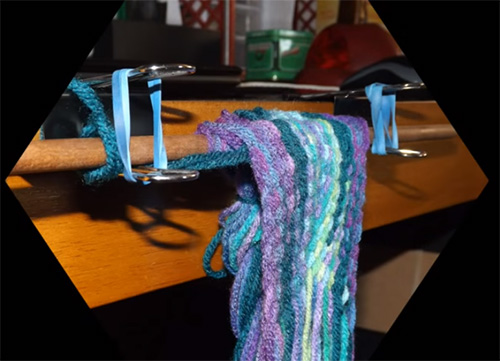
Large binder clips. They are optional but are useful for helping you secure your work to the back of a chair, or to the edge of a table.
Rubber bands. Rubber bands are optional and not required. Working in tandem with binder clips, they aid in securing your work to the back of a chair, or to the edge of a table. You can fashion a clamp to help secure your work by taking two smaller dowel rods and tying them together with rubber bands. This aids in keeping your threads in order.
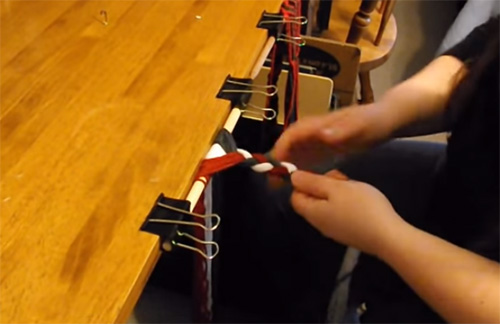
Process of fingerweaving
To begin, you will want your yarn cut at eleven lengths. To do this, set up two chairs at some distance from each other, and use either binder clips, or the chair knobs to aid in measuring out the yarn.
Setting up
This is where the dowel rods come in. There are two separate ways to set up a piece. You can either work from the middle, or you can work from one end. Each one requires a different set up.
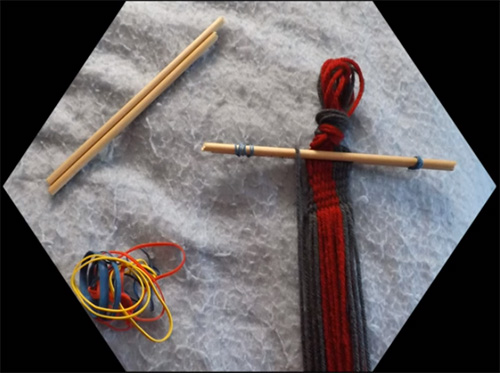
To start a piece from the middle, you need to wrap your threads around a dowel rod in the center of the threads, then to braid the other half to hold it in place. Once one side is completed, simply undo the braid and slide the piece off of the dowel rod. You are ready to continue after you straighten out the loops in your threads.
To start at one end, measure out half of your thread count at twice the length. Keeping them all together, fold the threads in half, and tie an overhand knot at the looped end.
Use two dowel rods and rubber bands to make a clamp to aid in arranging your threads and to keep your threads in place.
Weaving. Top-5 easy patterns for fingerweaving
After you set up your piece, you are ready to begin weaving. The pattern for the basic diagonal weave is simple. You start on the left side and weave over to the right side.
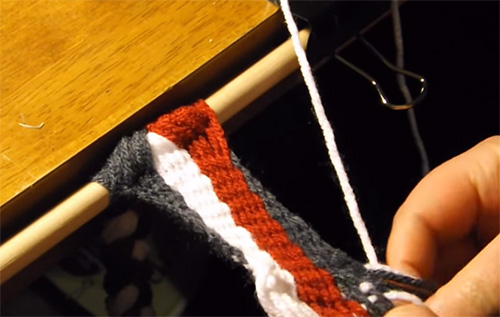
There are other patterns you can learn as well. For instance, the easiest to learn – a Chevron pattern. It works in the same manner, only you split your threads in half, and weave from the middle to the outside.
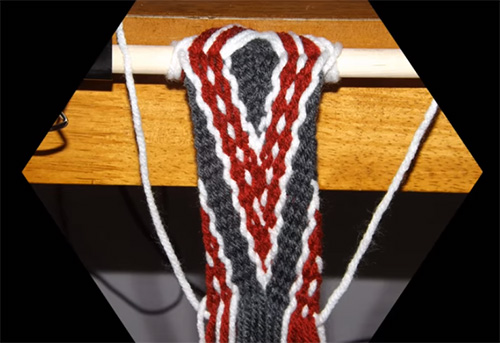
The Diamond pattern is a little more complex. This pattern starts out as a Chevron, but once you complete the first pass, you switch to weaving from the outside inward, after crossing several threads in the middle. When the color you are using for the diamond reaches the outside again, you switch back to weaving the Chevron to complete your diamond.
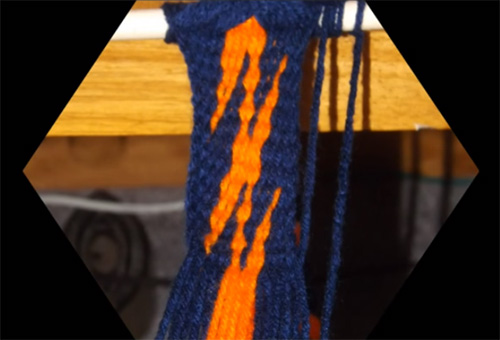
The Lightning pattern, which was created by the Iroquois Indians, employs an interlocking technique to create its pattern.
The Arrowhead pattern, also created by the Iroquois, uses a very similar technique as the Lightning pattern.

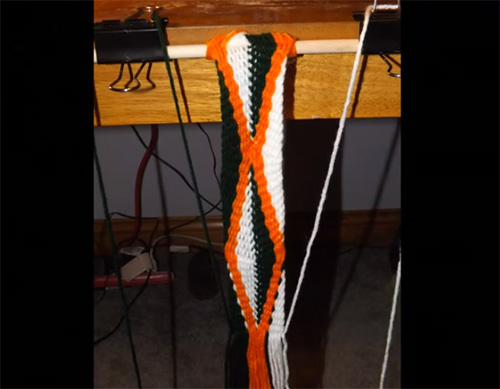
Finishing up
You can weave a piece as long or as short as you want. You can either tie off the end with an overhand knot, or you can tassel it. Braiding or cording the loose ends as a fringe is also an option for finishing a piece.
(c)